A look at the hardware family we’re developing. All setup images are AI-generated concepts. Final hardware, compatibility, pricing and availability are to be confirmed.
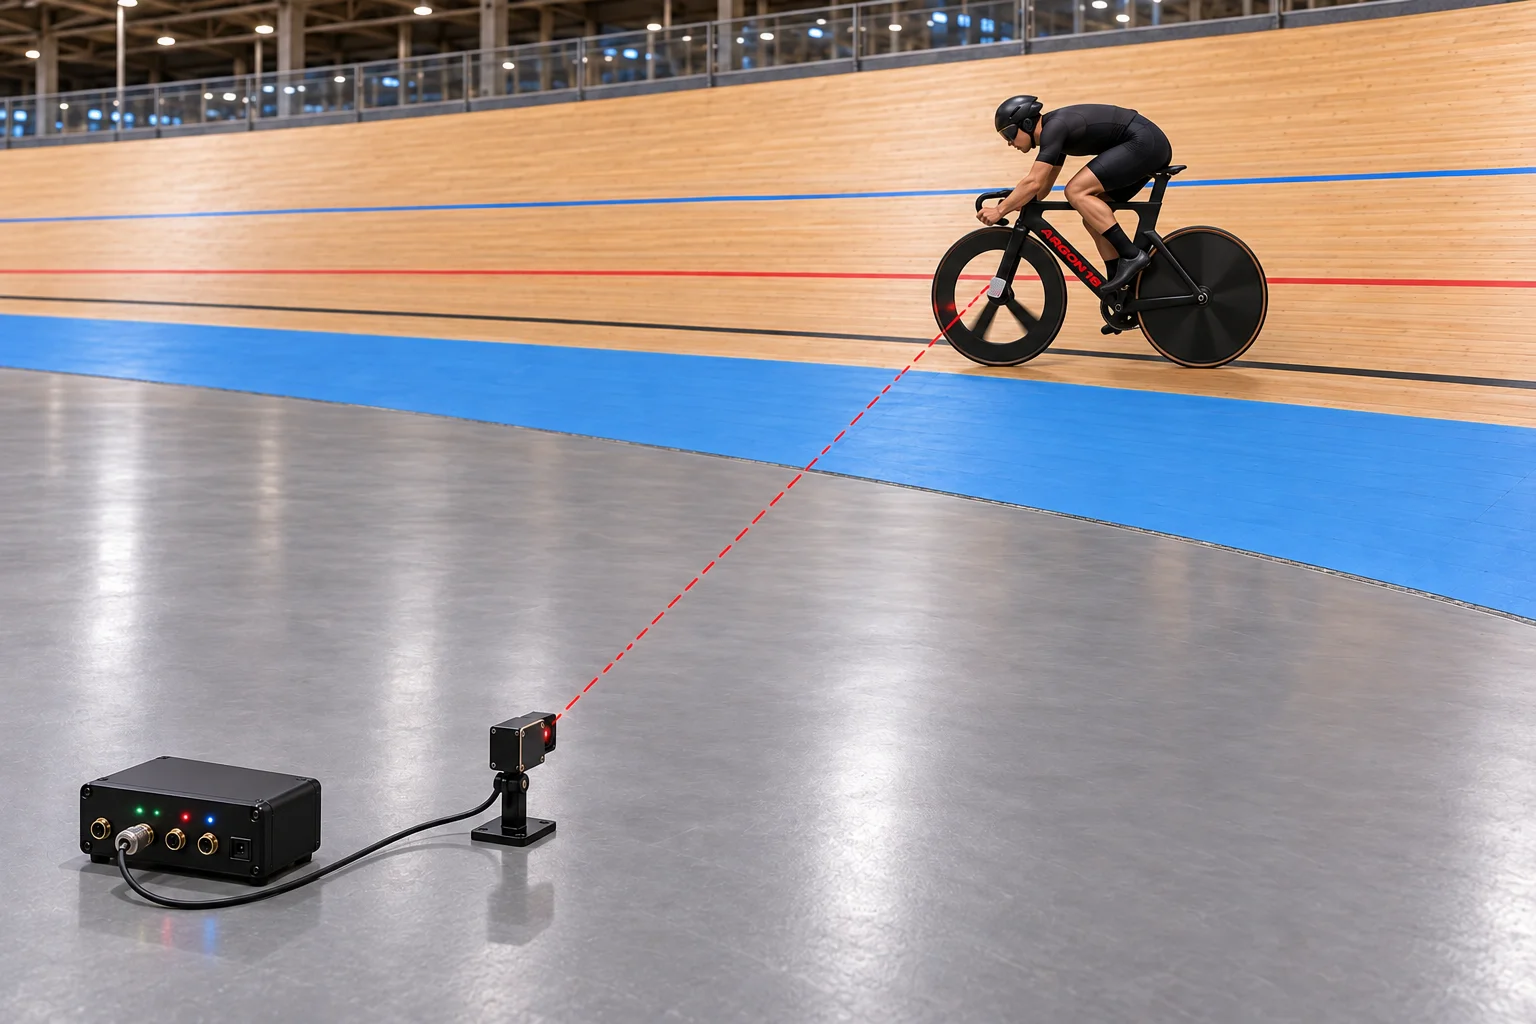
An optical sensor sees a small retroreflector on the bike’s front fork as you pass. The hub and sensor stay in the infield, clear of the riding surface.
Your setup
Velodrome Sense Hub
Optical sensor and connection cable
Front-fork retroreflector
Why choose this setup
Simple setup. Position the sensor in the infield and fit a small reflector to the front fork.
Keep the track clear. No strip to lay across the riding surface, so other riders can continue their training.
Take reaction time out of the stopwatch. Sensor-triggered crossings remove the need to press a lap button by hand.
Set goals. Track your pacing. Follow your splits on the controller and add a trackside display for feedback as you ride.
For: simple lap and effort timing without laying a contact strip.
02 / Contact timingConcept image
A direct connection to every crossing
One strip. Every lap.
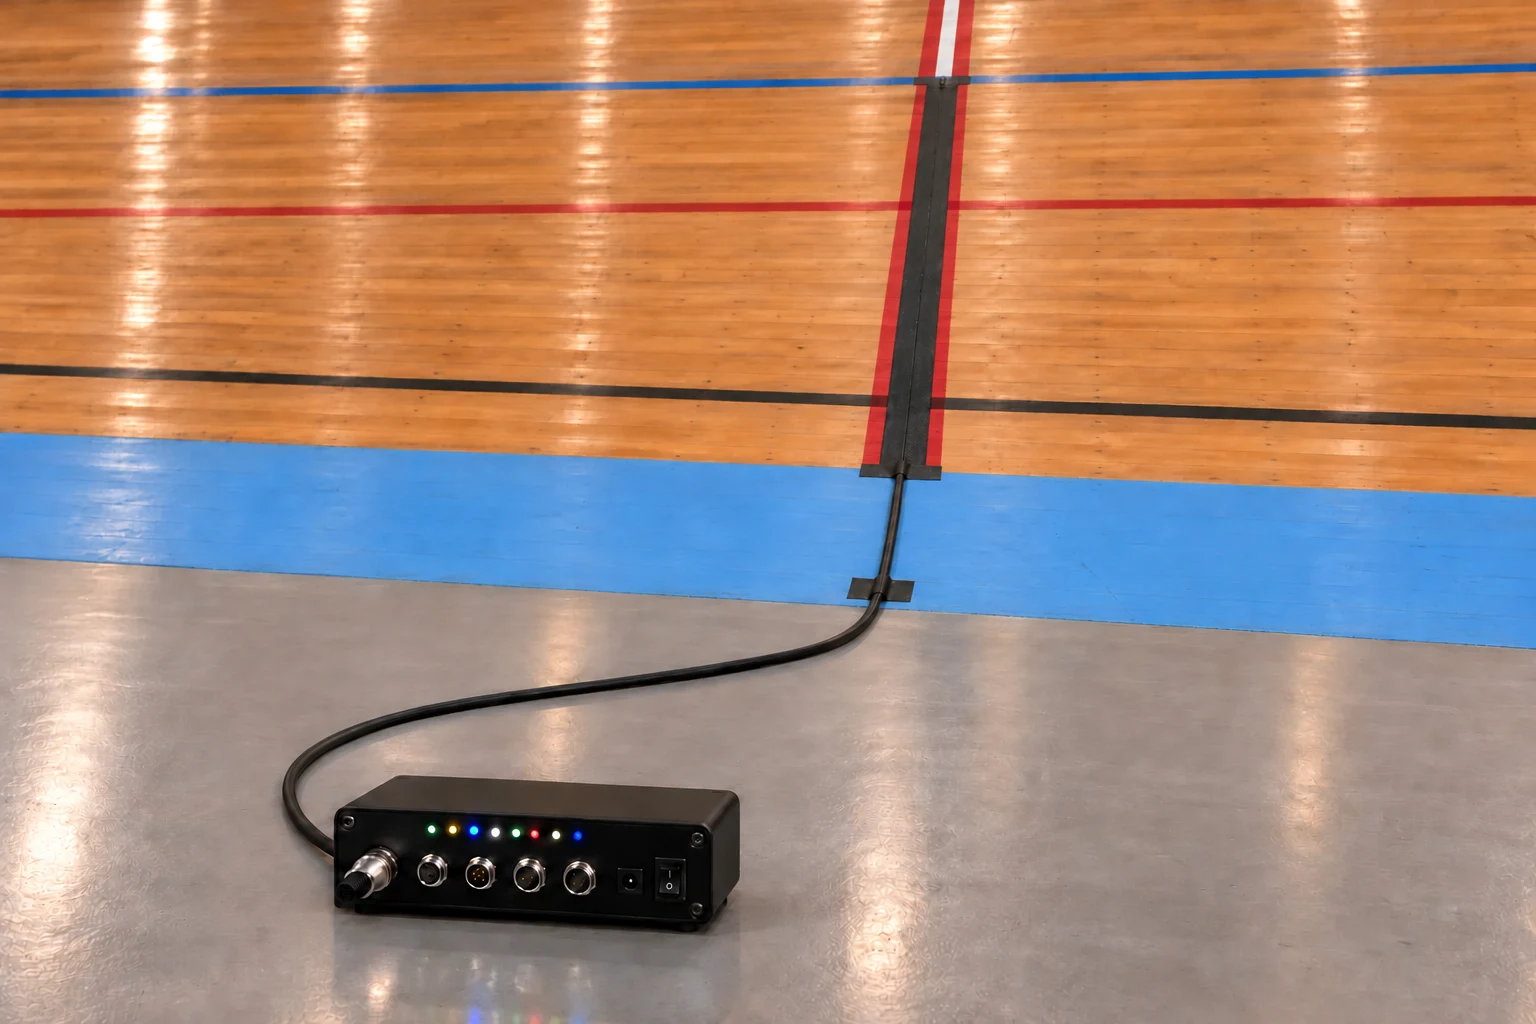
Lay a single 2 m contact strip across your riding line and connect it to the hub. The wheel crossing supplies the timing trigger for your effort.
Your setup
Velodrome Sense Hub
One 2 m contact strip
Contact-strip connection cable
Why choose this setup
Straightforward setup. Lay one 2 m strip and connect it to the hub.
A clear timing line. The wheel crossing supplies the timing trigger at a fixed point on the track.
Nothing to fit to the bike. No reflector or identity tag is required for the basic contact setup.
Focus on the effort. Capture splits automatically, set target times and review your pacing lap by lap.
For: repeatable efforts with a straightforward physical timing line.
Note: the Hub supports up to three contact strips simultaneously.
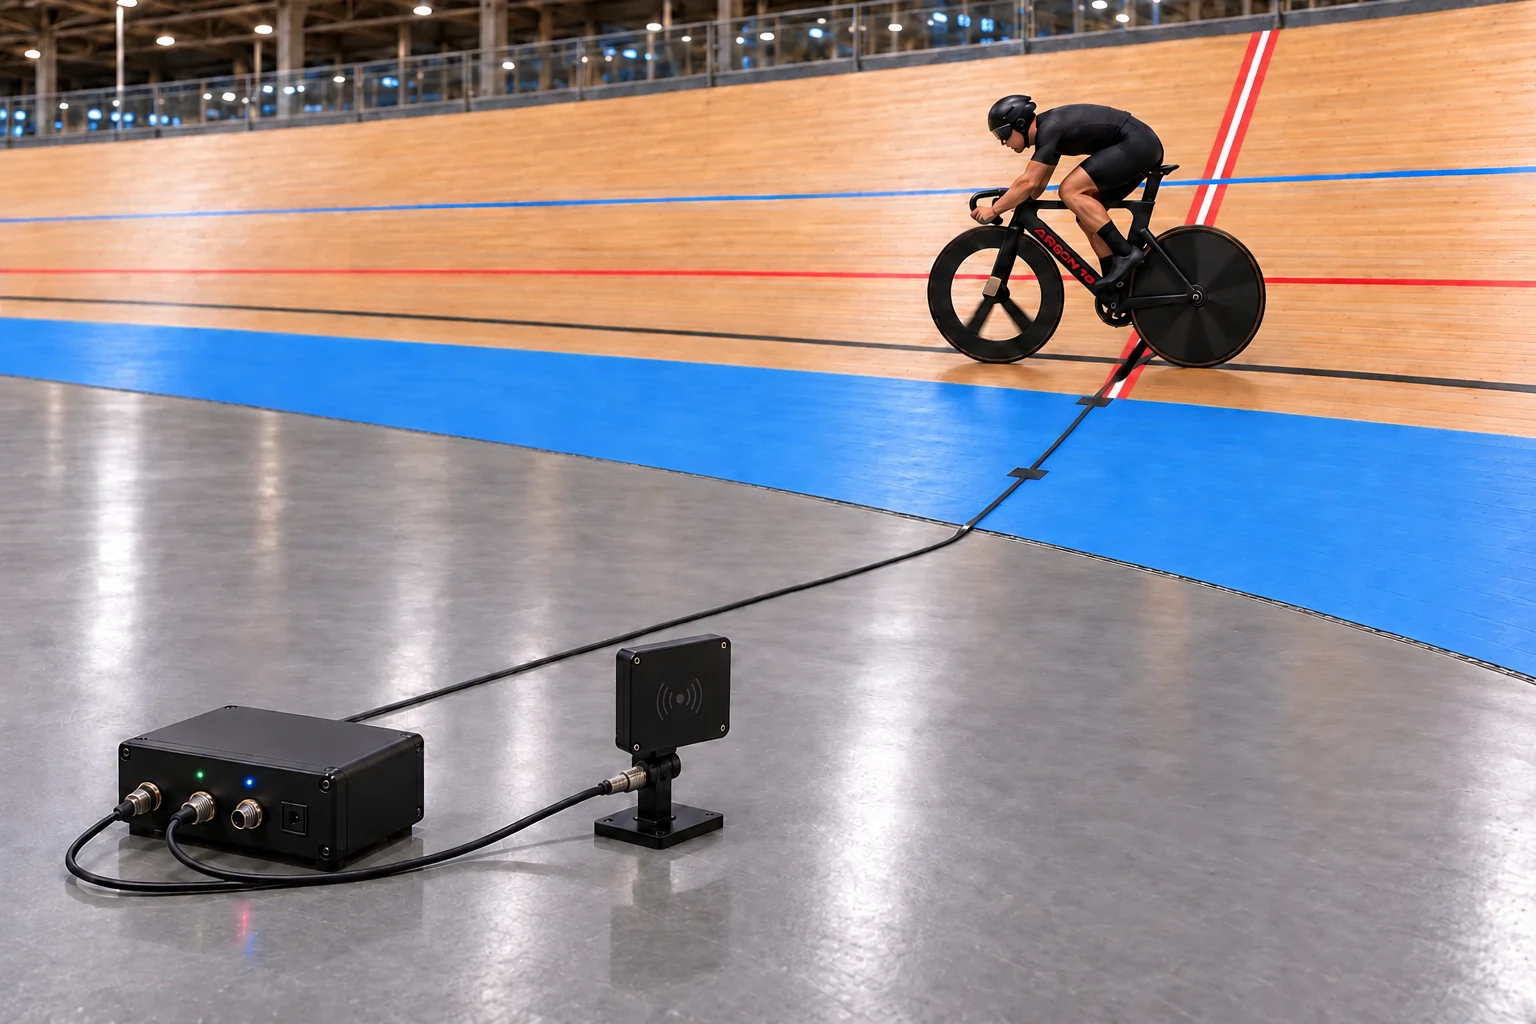
Select a bike’s tag before the effort. The planned external RFID module will qualify strip crossings when that tag is detected nearby, helping filter out other riders during training.
Proposed setup
Velodrome Sense Hub
External RFID reader module and bike tag
M12 interconnect cable
One 2 m contact strip and connection cable
Planned benefits
Focus on your selected bike. Designed to qualify strip crossings when your chosen tag is nearby.
Help filter other riders. Intended to ignore unrelated strip crossings when the selected tag is away from the reader.
Keep the strip doing the timing. The wheel crossing supplies the timestamp; RFID supplies the identity check.
Expand your existing setup. Add the external reader and bike tag to the contact package, with the same goals, pacing and trackside feedback.
The strip supplies the time. RFID supplies the identity check. Detection range and filtering reliability will be established through prototype testing.
04 / Add to either contact setup
Optional add-on
Make the start part of the session.
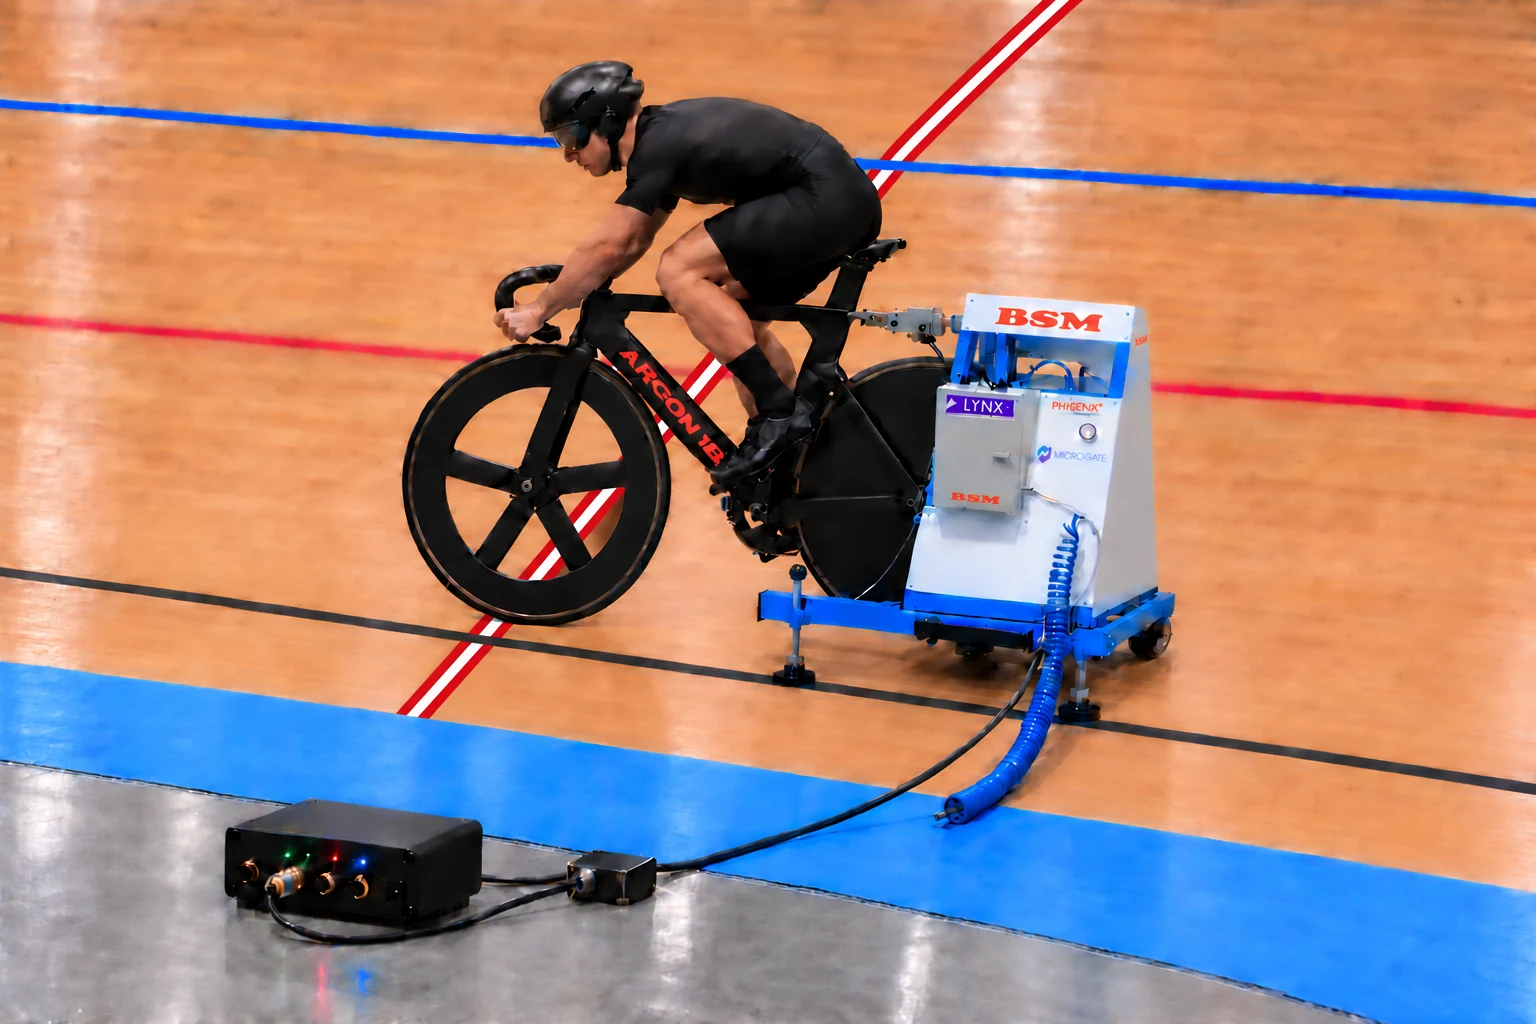
Practise standing starts with the BSM start gate module and related cabling. Run the countdown from your mobile controller, release the gate at the agreed start, and capture the effort through the contact strip.
BSM start gate module
Gate connection cabling
Works with the contact or planned RFID/contact setup
Why choose this setup
Practise the complete start. Rehearse the countdown, gate release and first pedal strokes together.
Repeat your start routine. Use the same countdown and release sequence across your efforts.
Time the whole effort. Capture the session from gate release through the contact-strip splits.
Build on your contact setup. Add gate control to either contact package and follow the effort against your pacing goal.
Gate compatibility and required cabling will be confirmed for the final hardware. The concept shows a rider ready in a BSM-style gate. The mechanical gate is separate from the Velodrome Sense interface module.
The mobile controller and trackside display have different jobs. Use a second device when you want the rider to see timing and pace feedback on the boards.
VELODROME SENSEREADY FOR YOUR EFFORT5COUNTDOWN400 m TT · 200 m track
01 / Mobile controller
Set it up. Count it down.
Use Velodrome Sense on an iPhone, iPad or Android device to connect the hub, choose the track and event, set a goal, and run the countdown.
An optional lap-count view follows the countdown on this device, with a final-lap bell option.
Your session controls and countdown stay here.
VELODROME SENSE TRACKSIDE13.32
LAP SPLIT / SECONDS0.08 ahead
02 / Trackside display
See the split. Read the pace.
Pair a second phone or tablet with the controller over Bluetooth by scanning its QR code. Position it where the rider can see the large timing readout and colour-coded pace feedback.
The large time blinks for the final lap, giving the rider another visible cue.
The trackside device stays focused on timing.
Screen illustrations show example values, rather than app screenshots. Phones, tablets and bicycle are shown for context; package contents and device compatibility will be confirmed before release.
From setup to the next effort
Keep the session moving.
01
Connect
Connect the sensor to the hub and pair your mobile controller.
02
Configure
Choose your track, effort and goal. Pair a trackside display if you want one.
03
Ride
Run the countdown or start at the sensor, then review your splits.
Built around your training
Which setup suits your track?
Tell us about your sessions and the equipment you already use.